


Mini Split Installation in Montgomery County, TX


Mini Split installation in Montgomery County, TX offers an efficient, flexible way to heat and cool homes that were not built with ductwork or that need precise zoning control. For homeowners facing hot, humid summers and variable shoulder seasons, a properly installed Mini Split system delivers targeted comfort, better humidity control, and lower energy waste when compared with oversized or poorly ducted central systems. Van Eddies Heating & Air Conditioning provides professional Mini Split services focused on accurate sizing, code-compliant installation, and long-term performance—helping Montgomery County homes stay comfortable year round.
Why choose a mini-split for Montgomery County homes
- Montgomery County summers are hot and humid, creating a strong demand for cooling systems that control both temperature and humidity without overcooling secondary spaces.
- Many local homes, additions, and historic properties lack reliable ductwork; mini-splits allow climate control without invasive duct construction.
- Zoned control reduces energy waste by cooling or heating only the rooms you use, improving comfort and reducing monthly utility bills.
- Modern inverter-driven mini-splits provide efficient operation across a wide load range, which is valuable during shoulder months when partial-load efficiency matters most.
Common mini-split installation scenarios in the area
- Retrofitting older homes or bungalows where installing ducts would be expensive or disruptive.
- New additions, sunrooms, or converted garages that require independent climate control.
- Whole-home multi-zone installations for multi-story homes with varying load patterns.
- Supplemental heating for rooms where central heat struggles to maintain setpoint.
- Vacation homes or rental properties where independent zoning helps manage occupancy and costs.
Types of mini-split systems and indoor unit styles
Mini-splits come in single-zone and multi-zone configurations, and indoor units in several styles to match room use and aesthetics:
- Wall-mounted units - the most common, compact, efficient, and easy to service.
- Ceiling cassette units - sit centrally in a room’s ceiling for even distribution, ideal for open rooms.
- Floor-standing units - suitable for rooms where wall placement is limited or where a low-profile aesthetic is preferred.
- Concealed ducted indoor units - provide a more traditional register look while retaining ductless benefits for small runs of short ducts.
- Multi-zone outdoor condensing units - pair with 2 to 8 indoor heads to serve multiple zones with a single outdoor unit.
Selecting the proper indoor unit style in Montgomery County depends on room size, layout, airflow needs, and local homeowner association restrictions.
Initial consultation and sizing / load calculations
A professional installation begins with a thorough consultation and accurate load calculations. Van Eddies Heating & Air Conditioning emphasizes correct sizing to avoid the common pitfalls of undersized or oversized systems.
Key steps during the consultation:
- Inspect the property and target rooms to evaluate insulation, window orientation, glazing, and sun exposure—important in Montgomery County due to strong solar heat gain.
- Perform Manual J load calculations to determine cooling and heating requirements for each zone. This considers envelope characteristics, occupancy, internal loads, and local climate data.
- For multi-zone systems, perform Manual S equipment selection to match the outdoor unit’s capacity with the combined demand of connected indoor heads.
- Identify potential line-set routing, structural considerations, and aesthetic preferences for indoor head placement.
- Discuss preferences for noise levels, filter type, smart control integration, and future expansion.
Proper load calculation reduces the risk of short cycling, inadequate dehumidification, and unnecessarily high energy usage.
Indoor and outdoor unit selection and placement
Indoor unit selection and placement are both performance and aesthetic decisions. Placement impacts airflow, temperature stratification, and condensate routing.
Indoor unit placement guidelines:
- Mount wall units on a strong, level interior wall with an unobstructed return path for air and at least 7 to 8 feet above the floor when possible.
- Avoid placing units behind curtains, in direct sunlight, or too close to heat sources like ovens or fireplace openings.
- For bedroom installations, select quieter models or place units where louvers direct airflow away from the bed to reduce perceived draft.
- For ceiling cassette or concealed duct units, ensure adequate plenum space and access for maintenance.
Outdoor unit placement considerations:
- Place the condensing unit on a level pad with good clearance for airflow and service access. Side clearances typically range from 12 to 24 inches; top clearances are often 60 inches or more depending on manufacturer.
- Avoid locations directly under eaves where dripping water or debris could affect the unit.
- Choose locations that minimize exposed line-set length while meeting setback and service access requirements.
- In flood-prone zones near Lake Conroe or low-lying areas, raise the outdoor unit on an elevated pad or stand to avoid standing water exposure and comply with local guidelines.
Refrigerant line and condensate routing best practices
Refrigerant lines and condensate drainage must be run to minimize visual impact and ensure long-term reliability.
Best practices for refrigerant lines:
- Use proper insulated copper line-sets sized to manufacturer specifications. Keep line lengths as short and straight as practical.
- Protect lines with sleeves where they pass through exterior walls to prevent water infiltration.
- Secure and protect lines with approved clamps and covers. Avoid kinking or sharp bends during installation.
- Consider future service access and include access ports or service valves in accessible locations.
Condensate routing and management:
- Ensure gravity drain paths where possible; where not possible, install a dedicated condensate pump sized for the head’s condensate output and operating cycles in high-humidity Montgomery County conditions.
- Install a secondary drain or overflow safety switch where required by code to minimize water damage risk.
- Insulate condensate lines where they pass through unconditioned areas to avoid condensation and maintain proper drainage.
Electrical and mounting requirements
A code-compliant electrical setup is both a safety and performance necessity.
Electrical considerations include:
- Correct breaker sizing and disconnects per unit nameplate and local electrical code. Many mini-split condensing units require a dedicated circuit and an external disconnect within sight of the unit.
- Proper conductor sizing and wire type based on ampacity and voltage drop calculations for the run length.
- Grounding and bonding in accordance with the National Electrical Code and Texas amendments.
- Where required by local jurisdiction, use a licensed electrician for final connections and compliance inspections.
Mounting and structural prep:
- Use manufacturer-approved mounting brackets and hardware. For brick or masonry exteriors, use mechanical anchors rated for exterior loads.
- Ensure the indoor wall bracket is mounted to studs or blocking and that all penetrations for lines are sealed and flashed to prevent moisture intrusion.
- Consider vibration isolators and anti-vibration pads on the outdoor unit to reduce noise transmission, especially near bedroom windows.
Code, permit, and licensing considerations in Montgomery County, TX
Minnim-split installations must adhere to local and state codes, and professional contractors must hold proper licenses.
Local permit and inspection steps typically include:
- Obtain mechanical, electrical, and building permits when required by Montgomery County or local municipalities. Permit requirements vary by scope and location.
- Follow Texas state codes and local amendments for mechanical and electrical systems.
- Use technicians certified under the EPA 608 refrigerant handling requirements for any work involving refrigerants.
- Ensure the installing contractor holds appropriate state licensing and contractor registration where required.
Proper permitting protects homeowners and ensures installations meet safety, performance, and resale standards.
Step-by-step installation workflow
A clear, methodical installation workflow improves outcome consistency and long-term reliability. The typical professional workflow includes:
- Finalize equipment selection and obtain permits where necessary.
- Prepare the site: install outdoor pad, install blocking for indoor head, and protect the work area inside the home.
- Mount indoor indoor unit bracket and secure the indoor head.
- Install outdoor pad and place the outdoor condensing unit on vibration isolators.
- Run refrigerant lines, condensate drain, and communication control wiring between indoor and outdoor units using approved sleeves and sealing methods.
- Braze or flare connections to the outdoor unit using nitrogen purge to prevent oxidation and ensure clean joints.
- Pressure test the system with dry nitrogen to verify integrity and check for leaks.
- Evacuate the system to the required vacuum level using a deep vacuum pump to remove moisture and non-condensables.
- Charge the system with the correct refrigerant type and amount as specified by the manufacturer, accounting for line-set length where necessary.
- Connect and verify electrical supply, install disconnect, and complete control wiring.
- Mount covers and trim, seal penetrations, and restore surfaces inside and outside.
- Commission the system by powering on and performing performance verification and adjustments.
- Provide owner instruction on system use, filters, and basic maintenance. Register manufacturer warranties per instructions.
Post-install testing and commissioning
Commissioning confirms the system meets design expectations and operates safely.
Essential commissioning steps:
- Leak detection: use electronic leak detectors and soap test at fittings after pressurization.
- Vacuum and hold test: confirm vacuum level and verify the system holds vacuum for the specified time to indicate no leaks or moisture.
- Correct refrigerant charge: weigh in refrigerant, measure superheat and subcooling, and adjust per manufacturer guidance.
- Measure airflow and temperature split across the evaporator to ensure expected cooling or heating capacity.
- Validate condensate drainage under typical and high-load conditions; test safety switches if installed.
- Verify electrical parameters: correct voltage, current draw, and that the compressor and fan are operating within nameplate limits.
- Test controls and Wi-Fi or smart thermostat integration where applicable.
- Record commissioning data and register warranty with manufacturer.
Comprehensive commissioning helps reduce callbacks and ensures the homeowner receives optimal performance.
Manufacturer warranty registration and documentation
Proper warranty registration protects the homeowner and ensures coverage:
- Record model and serial numbers for both indoor and outdoor units and keep a copy of the installation checklist and test results.
- Register the equipment per manufacturer instructions within the required time window to validate labor and parts warranties.
- Provide the homeowner a written summary of installed equipment, maintenance recommendations, and any warranty conditions.
Tips for choosing the right multi-zone or single-zone system
Choosing between single-zone and multi-zone mini-splits depends on application and goals. Consider these factors:
- Number of spaces to be conditioned: Use a single-zone system for one room or a small addition; choose a multi-zone system to serve multiple rooms with one outdoor unit when line-set routing and load diversity make sense.
- Load diversity and simultaneous demand: Multi-zone systems require careful capacity planning because not all zones will call at the same time. A professional Manual S selection will account for typical diversity in Montgomery County homes.
- Future expansion: If you plan to add rooms or finishes later, consider sizing and line-set routing to allow for additional indoor units.
- Aesthetics and head type: Wall-mounted heads are cost effective; cassettes and concealed duct units are less visible but add installation complexity and potential ceiling work.
- Efficiency and, SEER/HSPF ratings: Higher SEER and HSPF ratings deliver better seasonal efficiency but at higher equipment costs; balance upfront budget with long-term utility savings.
- Comfort features: Look for variable speed inverter compressors, enhanced humidity control, quiet operation levels, and washable filtration options.
- Warranty and serviceability: Choose manufacturers with strong warranty terms and local service networks for easier parts and maintenance support.
Common issues to anticipate and how professional installation prevents them
Mini-split systems can underperform when poorly installed. Common issues include:
- Improper sizing: Oversizing leads to short cycling and poor dehumidification; undersizing results in excessive runtime and discomfort.
- Poor refrigerant charging: Incorrect refrigerant charge degrades efficiency and may cause premature compressor failure.
- Inadequate condensate management: Insufficient drainage or missing overflow protection can result in water damage.
- Incorrect line-set routing and insulation: Leads to thermal losses, condensate problems, and visual issues.
- Electrical undersizing or missing disconnect: Poses safety risks and code violations.
Professional installers mitigate these issues with disciplined load calculations, code-compliant electrical work, precise charging and evacuation, and thorough commissioning.
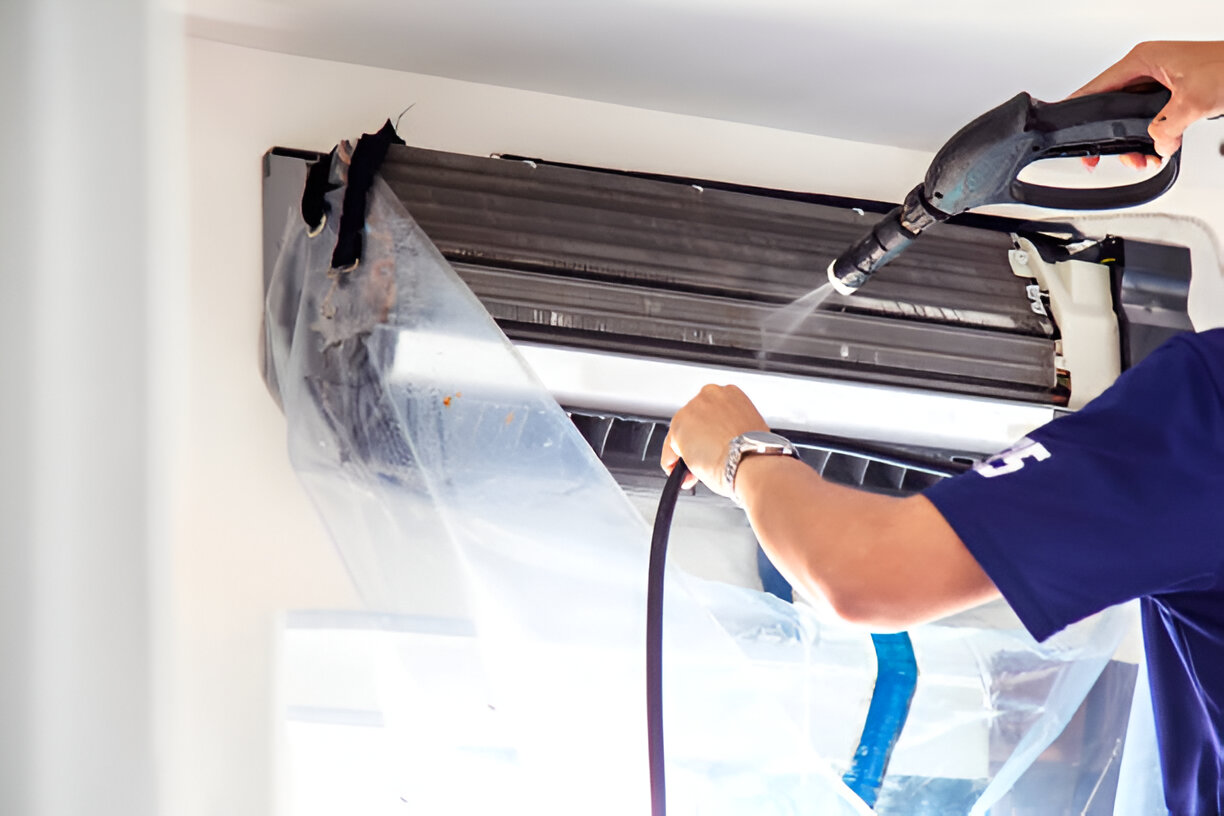
Maintenance and care for longevity and peak performance
Routine maintenance keeps a mini-split running efficiently and extends life:
- Clean or replace filters regularly (every 1 to 3 months depending on use and indoor air quality) to maintain airflow and indoor air quality.
- Schedule annual professional maintenance for cleaning coils, checking refrigerant levels, testing electrical connections, and inspecting condensate drains.
- Keep outdoor units free of debris, vegetation, and ice or standing water; maintain designed clearances for airflow.
- Verify that condensate lines are clear and that pumps operate reliably during high humidity seasons in Montgomery County.
- Address unusual noises, drops in capacity, or error codes promptly to prevent escalation.
Benefits summary for Montgomery County homeowners
- Targeted comfort and zone control for rooms with different occupancy and usage patterns.
- Improved humidity control leading to better indoor air quality and reduced mold risk in humid months.
- Reduced installation disruption compared to duct retrofits, especially in older or historic homes.
- Energy savings from eliminating duct losses and reducing conditioned space volume.
- Flexible indoor unit options to match aesthetics and functional requirements.
Van Eddies Heating & Air Conditioning emphasizes correct design, qualified installation, and ongoing maintenance to ensure Montgomery County homeowners receive the full benefits of a mini-split system.
Maintenance Plan
Heat Pump/ AC Tune-Up

Furnace Tune-Up
Customer Testimonials