


AC Installation in Orlando, FL


An efficient, properly installed air conditioning system is essential for comfort, indoor air quality, and energy savings in Orlando homes. With long, hot summers and high humidity, Orlando properties face heavy cooling loads for much of the year. A correct installation starts with accurate sizing and ends with careful calibration and testing, skip steps and you risk short cycling, high energy bills, poor humidity control, and premature equipment failure.
Why professional installation matters in Orlando
- Orlando’s climate drives high cooling demands and persistent humidity. A unit sized or charged incorrectly will struggle to remove moisture, causing sticky interiors and higher energy use.
- Coastal and suburban homes may face salt air or storm exposure concerns that affect equipment placement and corrosion protection.
- Local building codes and permitting in Orange County and surrounding municipalities mean installations must meet specific safety and electrical standards.
Common installation types and reasons homeowners replace systems
- Full system replacement (outdoor condensing unit + indoor coil and furnace/air handler)
- Changeouts using existing ductwork where feasible
- Upgrades to higher SEER systems for lower operating costs
- Conversion to heat pump systems for year-round efficiency
- Ductless mini-split installations for additions or zone control
Step 1: Load calculations and system sizing
A responsible installation begins with a load calculation (commonly Manual J). This measures your home’s:
- Square footage and orientation
- Insulation levels and window types
- Air infiltration and occupancy patterns
- Local climate factors like Orlando heat and humidity
From the load calculation, technicians determine the correct capacity (tonnage) and select equipment sized to handle peak cooling while cycling correctly. Oversized systems waste energy and fail to control humidity; undersized systems run continuously and wear out faster.
Step 2: Energy-efficient model selection and SEER considerations
SEER (Seasonal Energy Efficiency Ratio) indicates a system’s cooling efficiency. In Orlando:
- Higher SEER ratings generally yield greater energy savings because equipment runs more efficiently during long cooling seasons.
- Choose a SEER that balances upfront cost and long-term savings — homes with well-sealed ducts and consistent occupancy get the best ROI from higher-SEER units.
- Consider features beyond SEER: variable-speed compressors and multi-stage systems improve comfort and humidity control in humid climates.
Step 3: Permits, safety, and code compliance
Before installation begins, ensure required permits and inspections are obtained. Professional installers will:
- Secure local permits and submit required paperwork
- Follow Orange County and City of Orlando electrical and mechanical codes
- Use EPA-certified refrigerant handling procedures
- Verify proper electrical service, disconnects, and grounding
Compliance protects safety, warranty coverage, and future resale value.
Step 4: Removal of old equipment and site prep
Removal includes safe disposal of the existing condenser, coil, and associated materials. Common actions:
- Recovering refrigerant per EPA rules
- Disconnecting electrical and refrigerant lines
- Removing old pad or setting a new pad for the condenser
- Protecting landscaping, flooring, and interior surfaces during work
Installers will stage tools and materials to minimize disruption to your home.
Step 5: Professional installation steps
A typical professional install follows a consistent sequence:
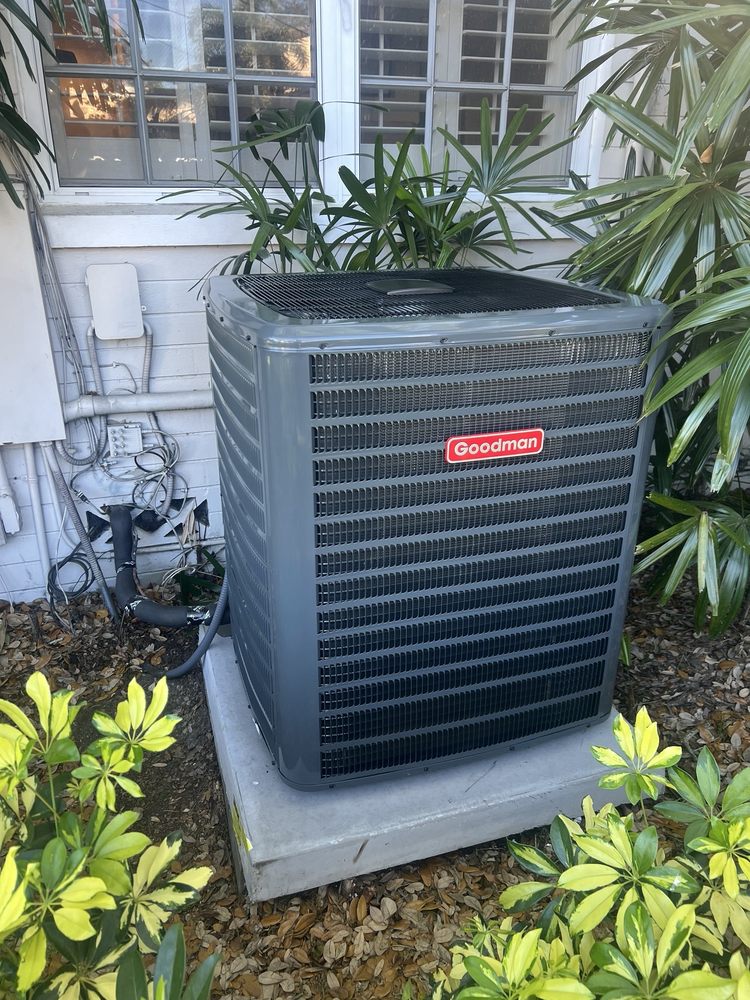
- Mount and level the outdoor condenser on a concrete pad or bracket.
- Install or replace the indoor evaporator coil and air handler/furnace components.
- Run refrigerant line sets and insulate them properly.
- Complete electrical hookups: breakers, disconnects, and controller wiring.
- Connect condensate drain lines and test drainage.
- Evacuate the refrigerant lines and charge the system to manufacturer specifications.
- Seal and test duct connections and airflow where applicable.
Every step focuses on correct airflow, proper refrigerant charge, and secure electrical connections to meet manufacturer and code standards.
Step 6: Calibration, testing, and balancing
After mechanical installation, technicians perform calibration and performance testing:
- Measure airflow, static pressure, and temperature split across the coil
- Verify refrigerant pressures and superheat/subcooling to match manufacturer specs
- Confirm system cycles correctly and runs quietly
- Program thermostats, enable scheduling, and explain basic controls
- Perform an overall safety check on electrical and mechanical components
Documented testing ensures the system performs as designed in Orlando’s climate.
Warranty, rebates, and financing considerations
- Manufacturer and installer warranties vary — verify the length and coverage for parts and labor and keep documentation on file.
- High-efficiency installations may qualify for utility rebates or state/federal incentives; eligibility varies by program and model.
- Many homeowners use financing plans for high-efficiency upgrades. Discuss warranty implications and whether extended labor warranties are available with financing options.
What homeowners can expect on install day
- Timeline: Most residential installs take one full day; complex replacements or duct modifications may require additional time.
- Prep: Crews typically ask for clear access to the outdoor unit, attic or mechanical closet, and thermostat. Expect some disruption but not continuous noise all day.
- Safety: Technicians will protect floors and landscaping and follow safe refrigerant recovery and disposal practices.
- Final walkthrough: After startup and testing, you’ll receive a walkthrough explaining system operation, thermostat programming, warranty paperwork, and simple maintenance tips.
Post-install care and maintenance
- Schedule regular tune-ups (air filter checks, coil cleaning, refrigerant inspection, and airflow checks) to maintain efficiency and preserve warranties.
- Replace filters regularly and keep outdoor unit clear of vegetation or debris.
- Consider a maintenance plan to catch issues early, extend equipment life, and keep energy use predictable in Orlando’s demanding summer months.
Maintenance Plan
Heat Pump/ AC Tune-Up

Furnace Tune-Up
Customer Testimonials